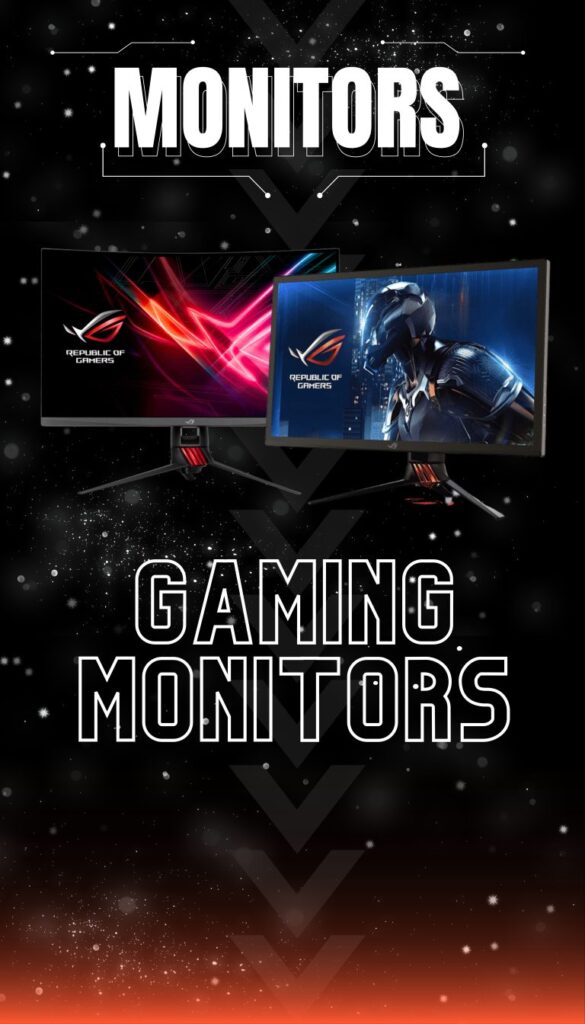
Unleash Your Gaming Potential with the Ultimate Gaming PC Gaming Plus Productivity Unlocked!
MARK 3
STARTER
The perfect starter desktop for first time gamers. Balanced performance for esports and online multiplayer gaming for those looking for a reliable PC within a budget.
The perfect starter desktop for first time gamers. Balanced performance for esports and online multiplayer gaming for those looking for a reliable PC within a budget.
The perfect starter desktop for first time gamers. Balanced performance for esports and online multiplayer gaming for those looking for a reliable PC within a budget.
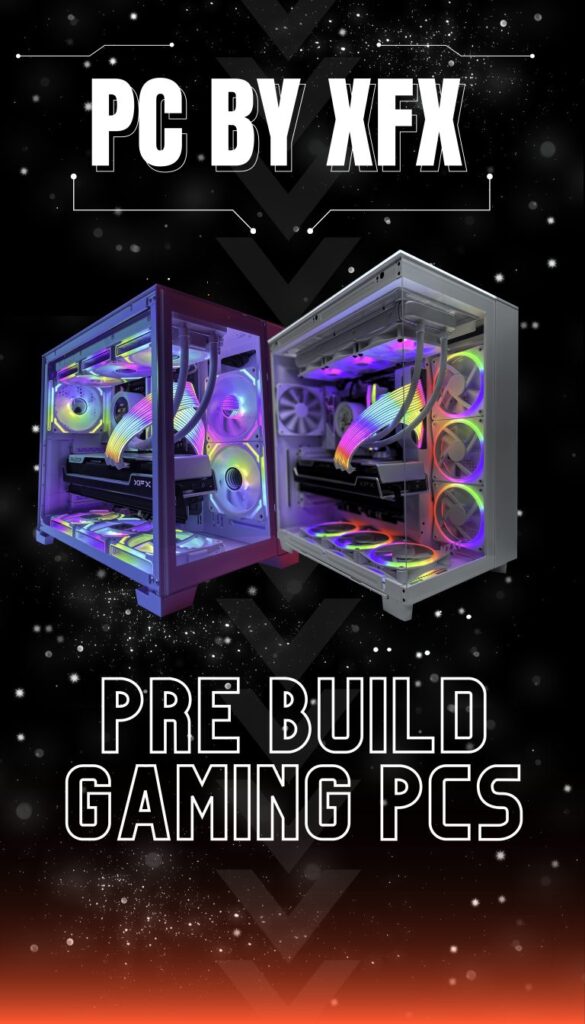
An enormous leap in performance, efficiency, and AI-powered graphics. Featuring the all new RTX 4090, AMD 7000 and Intel 13th Gen for the fastest gaming available today.
Building a gaming PC can be an exciting project! Here’s a general guide to help you get started:
Define Your Budget – Decide how much you’re willing to spend on your gaming PC. This will influence your component choices.
Choose Your Components
Processor (CPU): – Intel or AMD? Consider performance vs. budget.
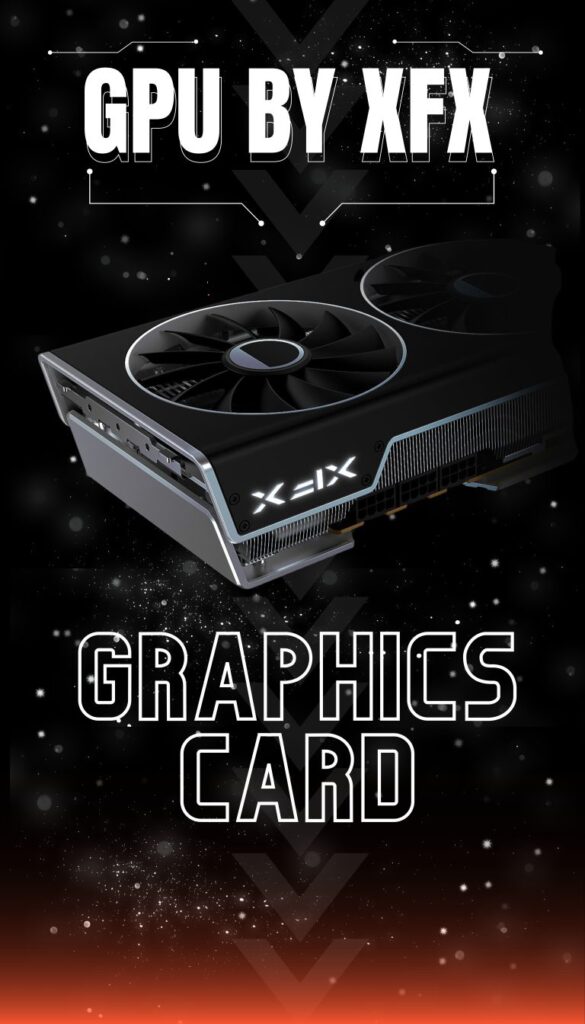
b. Graphics Card (GPU): – This is crucial for gaming performance. NVIDIA and AMD offer various models catering to different budgets.
c. Motherboard: – Ensure compatibility with your CPU and other components. Consider future upgrade options.
Memory (RAM): – 16GB is usually sufficient for gaming. Make sure it’s compatible with your motherboard.
Storage: – SSDs are faster than traditional HDDs. Aim for at least 500GB SSD for the OS and games, with additional HDD storage if needed.
Power Supply Unit (PSU): – Get a reliable PSU with enough wattage for your components, and ensure it’s from a reputable brand.
Case: – Choose a case that fits your components and has good airflow. Consider aesthetics and ease of cable management.
Cooling: – Stock CPU coolers are often sufficient for non-overclocked setups. If overclocking or for better performance, consider aftermarket coolers.
Assemble Your PC
– Preparation: – Work on a non-conductive surface. – Ground yourself to prevent static discharge.
– Installation: – Install CPU on the motherboard. – Apply thermal paste and attach CPU cooler. – Install RAM, GPU, and storage devices. – Connect all power cables from PSU to components. – Mount motherboard in the case and connect case cables (USB, audio, etc.). – Install OS (Windows, Linux, etc.) and drivers.
Testing and Optimization
– Post-Assembly Checks: – Boot into BIOS to ensure all components are recognized. – Install GPU drivers. – Run stress tests to check stability (e.g., Prime95 for CPU, 3DMark for GPU).
– Optimization: – Adjust in-game settings for optimal performance and visual quality. – Consider overclocking (if comfortable and necessary) for extra performance.
Enjoy Your Gaming PC!
– Install your favorite games and enjoy the improved graphics and performance!
Additional Tips:
– Research: Check online resources and forums for compatibility and user reviews of components. – Future-Proofing: Consider components that can be easily upgraded in the future, such as the motherboard and GPU. – Aesthetics: If you care about the look of your PC, consider RGB components or themed builds.
Building a gaming PC is a rewarding experience that allows you to customize your setup according to your needs and preferences. Happy building!